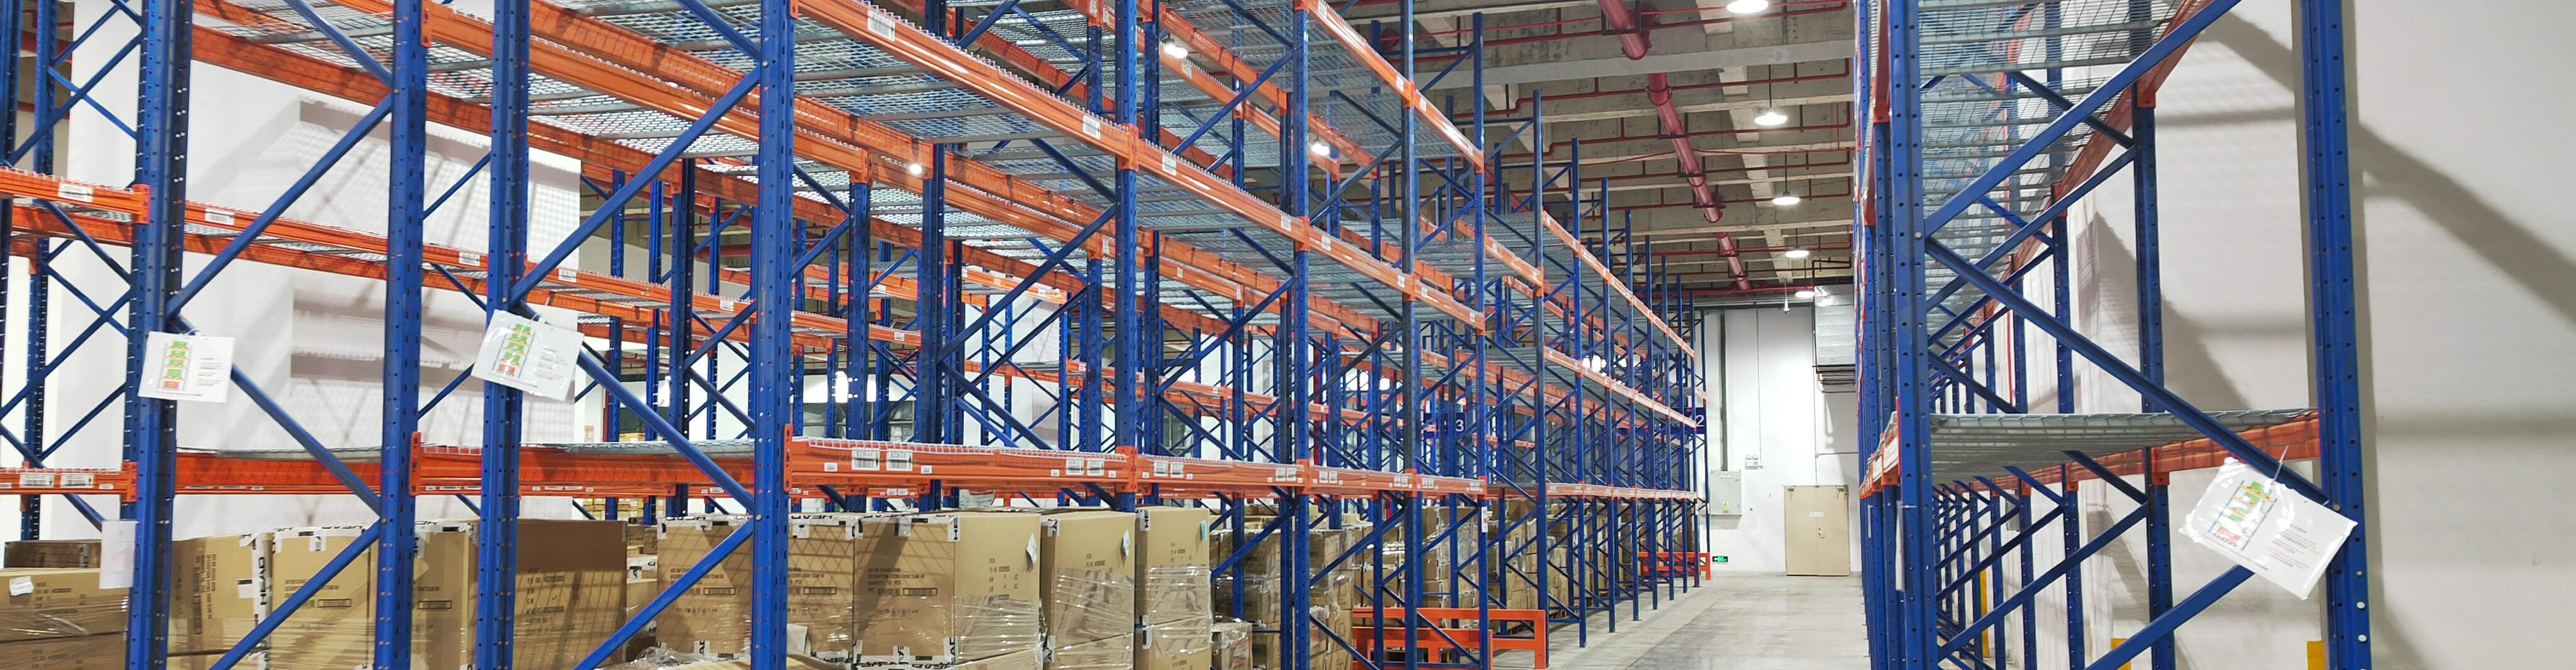
A safe racking layout starts before any uprights or beams are installed. The right heavy duty warehouse racking layout must match your pallet sizes, forklift movement, ceiling height, floor condition, stock profile, and growth plans. If the layout is designed only to maximize capacity, it often creates avoidable risks such as narrow turning space, damaged uprights, blocked exits, poor picking flow, and overloaded beam levels.
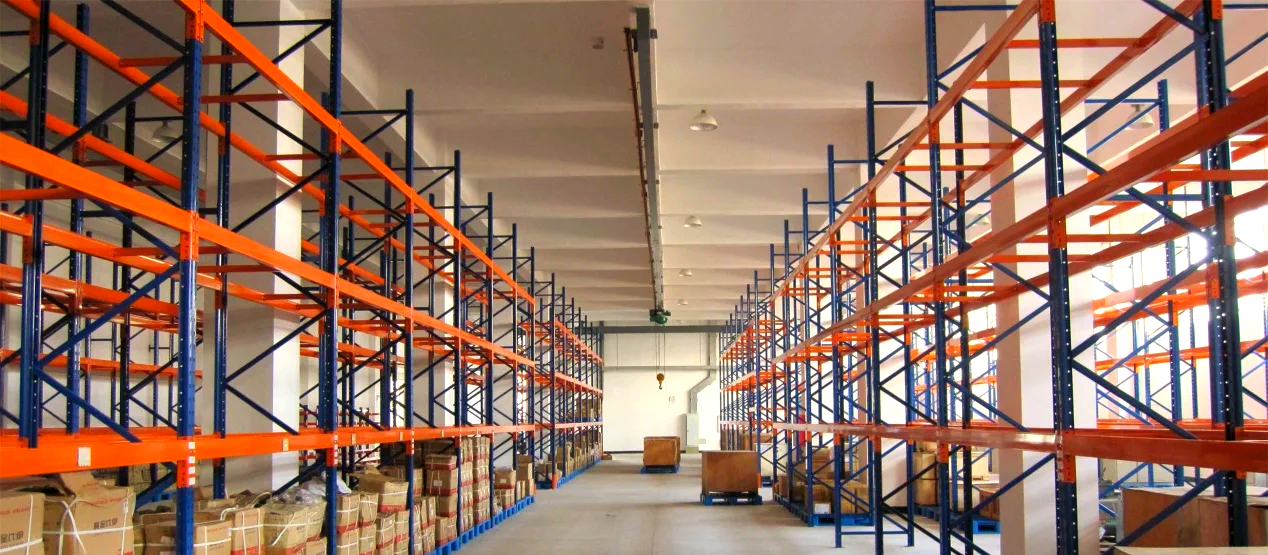
For most warehouses, the safest approach is to design heavy duty warehouse racking around three priorities at the same time: structural loading, vehicle access, and operational discipline. That means confirming load data early, setting practical aisle widths, protecting impact zones, maintaining clear visibility, and leaving enough room for inspection and maintenance. A layout that works well on paper but ignores day-to-day forklift behavior usually becomes a safety problem later.
What a safe heavy duty warehouse racking layout needs to achieve
A well-planned heavy duty warehouse racking layout should do more than store pallets. It should support safe movement, stable loading, efficient replenishment, and routine inspection. In practice, a safe layout needs to achieve the following:
- Provide enough aisle width for the actual handling equipment in use
- Keep load weights and beam capacities aligned with real pallet loads
- Reduce forklift impact risk at aisle entries, end frames, and turning points
- Allow operators to place and retrieve pallets without forcing awkward maneuvers
- Maintain access to exits, fire equipment, service routes, and inspection areas
- Support stock rotation and workflow without creating congestion
- Leave room for future changes without compromising rack safety
When these points are addressed together, heavy duty warehouse racking becomes safer to operate and easier to manage over time.
Start with inventory, pallet, and load profile
The layout should be based on what you actually store, not on a generic bay drawing. Before planning heavy duty warehouse racking, define the pallet dimensions, maximum unit loads, load overhang, stock turnover, and SKU mix. A warehouse handling full pallets of uniform goods can use a very different layout from a facility storing mixed pallets, damaged return stock, or variable-height goods.
Key questions to answer first
- What pallet sizes are used across the site?
- Are pallet loads consistent or variable in weight and height?
- Do loads overhang the pallet edges?
- How many SKUs require direct access?
- Is the operation mostly storage, replenishment, or order picking?
- Do you need FIFO or LIFO stock flow?
- How often are pallets moved each day?
These answers affect beam length, bay configuration, upright depth, aisle count, and the overall suitability of selective, double deep, drive-in, shuttle, or other racking formats. A safe layout depends on choosing a system that fits the inventory and handling pattern rather than forcing operations to adapt to an unsuitable design.
Match the racking layout to forklift type and aisle requirements
One of the most common design mistakes is selecting aisle widths based on theoretical minimums instead of real operating conditions. Heavy duty warehouse racking must be laid out around the trucks that will actually work in the aisles, including their turning radius, lift height, load stability, and operator visibility.
Counterbalance forklifts generally need wider aisles than reach trucks. Very narrow aisle equipment can increase storage density, but it also changes guidance requirements, floor tolerance expectations, and traffic planning. Narrower aisles are not automatically safer. If operators struggle to align pallets or reverse out of locations cleanly, rack damage risk rises.
Practical aisle planning points
- Use the equipment manufacturer’s operating requirements as a starting point, not a guess
- Consider pallet dimensions and load overhang, not just truck dimensions
- Allow for real operator behavior, especially in busy or mixed-skill environments
- Review cross-aisles, turning zones, and end-of-row movement
- Separate pedestrian routes from forklift traffic where possible
If the warehouse handles frequent fast-moving pallet movement, it is often better to accept slightly lower storage density in exchange for cleaner traffic flow and lower impact risk.
Use building dimensions properly
Safe heavy duty warehouse racking design depends heavily on the building itself. Clear height, column spacing, floor flatness, door positions, dock areas, sprinkler constraints, and wall clearances all influence the final layout. A layout copied from another site may fit the footprint but still perform poorly if the building geometry is different.
Ceiling height and lift clearance
High bays can increase pallet positions, but they also increase the consequences of poor load placement and handling error. The layout must leave enough top clearance for lifting and safe pallet placement. Beam levels should be set with practical operating tolerance, not with minimal gaps that make every put-away slow and risky.
Column and obstruction planning
Building columns, doors, charging stations, and service areas should be integrated early into the layout. Trying to maximize every square meter often creates awkward short runs, blind corners, or dead zones that reduce safety. In many cases, a slightly simpler row arrangement works better operationally than a tighter but irregular layout.
Floor condition matters
Heavy duty warehouse racking relies on the floor for anchoring and load transfer. If the floor has level issues, damage, cracks, or limited load-bearing suitability, that should be reviewed before installation. A strong rack design cannot compensate for a floor that is not suitable for the intended loading and truck movement.
Plan row lengths, cross-aisles, and access routes carefully
Long uninterrupted rows may look efficient in a layout drawing, but they can slow access and create congestion. Safe heavy duty warehouse racking layouts usually include cross-aisles or access breaks that reduce travel distance and improve emergency movement. This is especially useful in larger warehouses where operators would otherwise need to travel to row ends repeatedly.
Cross-aisles should be placed where they support actual movement patterns, not just symmetry. Consider receiving-to-storage flow, replenishment routes, fast-pick zones, and dispatch staging. If forklifts constantly cut across pedestrian areas or queue at row ends, the layout likely needs adjustment.
Areas that deserve extra protection
- End-of-aisle frames
- Main traffic intersections
- Loading and staging transitions
- Low-level impact zones
- Pedestrian crossing points
These are common damage points in heavy duty warehouse racking systems and should be treated as high-risk zones during layout planning.
Choose the right racking configuration for the operation
Not every warehouse should use the same type of heavy duty warehouse racking. The safest layout depends on access requirements, pallet turnover, density goals, and handling discipline.
Selective pallet racking
This is often the simplest option for direct access to every pallet. It is usually easier to inspect, easier to manage for mixed SKUs, and more forgiving in operations where stock variety is high. The trade-off is lower storage density compared with more compact systems.
Double deep racking
This can improve density, but it requires suitable forklifts and more careful load handling. It may be less suitable if SKU count is high or if direct access to every pallet is critical.
Drive-in or high-density systems
These can reduce aisle count and increase storage density, but they demand stricter operational control. They may be less suitable where pallets are inconsistent, turnover is mixed, or impact damage risk is already a concern.
The safest choice is usually the one that balances density with manageable daily handling. A more compact system is not safer if it increases misloads, delays inspection, or encourages rough forklift operation.
Build load safety into the layout from the beginning
Every heavy duty warehouse racking layout should be tied to clear load assumptions. That includes pallet weight, beam level loading, bay loading, and load distribution. Layout safety is not only about aisle width and traffic; it is also about making sure the rack configuration matches the real loads being placed on it.
Important load planning checks
- Confirm the maximum pallet weight for each location type
- Check whether loads are evenly distributed or point-loaded
- Make sure beam levels match pallet count and spacing requirements
- Avoid designing around ideal pallet quality if damaged pallets are common
- Plan visible load notices so operators know the permitted limits
If the operation handles different pallet weights in the same area, zoning can help. Heavier goods may need to be stored in designated bays or lower levels rather than spread randomly through the warehouse.
Allow for inspection, maintenance, and damage control
A safe heavy duty warehouse racking layout must remain inspectable after the warehouse is fully operational. If rows are too tight, staging areas constantly overflow, or access to end frames is blocked, damage can go unnoticed for too long.
Layout planning should make it easier to check anchors, uprights, beams, bracing, and protection barriers. It should also support housekeeping. Debris, broken pallets, loose wrapping, and misplaced loads often collect in poorly planned corners or inaccessible row ends.
Include these maintenance-minded features
- Clear visibility at aisle entries and row ends
- Enough access for routine rack inspection
- Rack protection at exposed impact points
- Defined staging zones so pallets are not left in aisles
- Consistent labeling of bays, levels, and load limits
Good layout design reduces damage frequency, but it also makes damage easier to identify and correct early.
Separate storage from picking and staging where possible
Many safety issues in heavy duty warehouse racking layouts come from combining too many activities in the same space. Full-pallet storage, case picking, replenishment, returns handling, and dispatch staging all create different movement patterns. When they overlap without clear zoning, congestion and operator error increase.
Where space allows, separate reserve pallet storage from active picking areas. Fast-moving SKUs may justify dedicated pick faces or lower-level access zones rather than repeated interference with main storage aisles. Staging should not spill into rack access routes, even during peak periods. If it does, the layout is too tight for the real workflow.
Plan for growth without compromising current safety
Expansion planning is often ignored until the warehouse is already under pressure. A safe heavy duty warehouse racking layout should leave some flexibility for additional bays, changed SKU mix, new truck types, or revised throughput requirements. That does not mean overbuilding everything from day one, but it does mean avoiding a layout that has no room to adapt.
Useful planning questions include:
- Will pallet sizes remain the same over the next few years?
- Is throughput likely to increase faster than storage demand?
- Could picking activity expand into reserve storage space?
- Will you need more staging, charging, or value-added handling areas later?
A layout that uses every available meter today can become harder to operate safely tomorrow.
Common mistakes when designing heavy duty warehouse racking
- Choosing maximum storage density without reviewing forklift maneuvering space
- Ignoring pallet overhang and actual load variability
- Using the same aisle width across all zones despite different traffic intensity
- Blocking inspection access with staging or overflow stock
- Failing to protect end frames and exposed uprights
- Setting beam levels too tightly for practical pallet placement
- Assuming all future stock will match current pallet and weight profiles
- Overlooking floor condition and anchoring requirements
Most of these errors come from designing heavy duty warehouse racking around static capacity targets instead of real warehouse behavior.
A practical step-by-step approach
1. Define the operating brief
List pallet types, load weights, SKU count, throughput, stock rotation rules, and handling equipment.
2. Review the building
Measure clear height, columns, obstructions, floor condition, door positions, and service areas.
3. Select the most suitable racking format
Choose a system based on access needs, density goals, and handling discipline.
4. Set aisle widths from actual truck requirements
Do not estimate. Use real truck and load dimensions with working tolerance.
5. Build in traffic flow and safety zones
Plan cross-aisles, pedestrian separation, staging areas, and protected impact points.
6. Confirm load assumptions
Align beam levels, bay loads, and pallet placement with real operating loads.
7. Check inspectability and maintenance access
Make sure the completed layout can be safely inspected and managed.
8. Review future flexibility
Leave sensible options for expansion without creating current safety compromises.
FAQ
How wide should aisles be for heavy duty warehouse racking?
There is no single correct width. Aisles should be based on the actual forklift type, pallet dimensions, load overhang, lift height, and operating tolerance. Using a generic minimum can increase rack damage risk.
Is higher storage density always better?
No. Higher density can reduce aisle space and increase capacity, but it may also reduce accessibility, slow handling, and make damage more likely if the system does not suit the operation.
What is the biggest safety mistake in racking layout design?
A common mistake is prioritizing pallet positions over safe forklift movement. If operators do not have enough room to place and retrieve loads cleanly, the risk of impact and misloading rises.
Should inspection access be considered during layout planning?
Yes. A layout should allow routine visual checks, clear access to damaged areas, and enough space to keep staging or overflow stock out of the aisles.
Conclusion
Designing a safe heavy duty warehouse racking layout is a practical planning exercise, not just a space calculation. The layout needs to match real pallet loads, forklift behavior, building constraints, and workflow pressure. Safe results usually come from balanced decisions: enough capacity, enough access, enough protection, and enough room to inspect and operate the system properly.
If you are planning a new installation or reworking an existing warehouse, start with operational reality rather than maximum theoretical density. That is the most reliable way to make heavy duty warehouse racking safer, easier to manage, and more sustainable as the business grows.