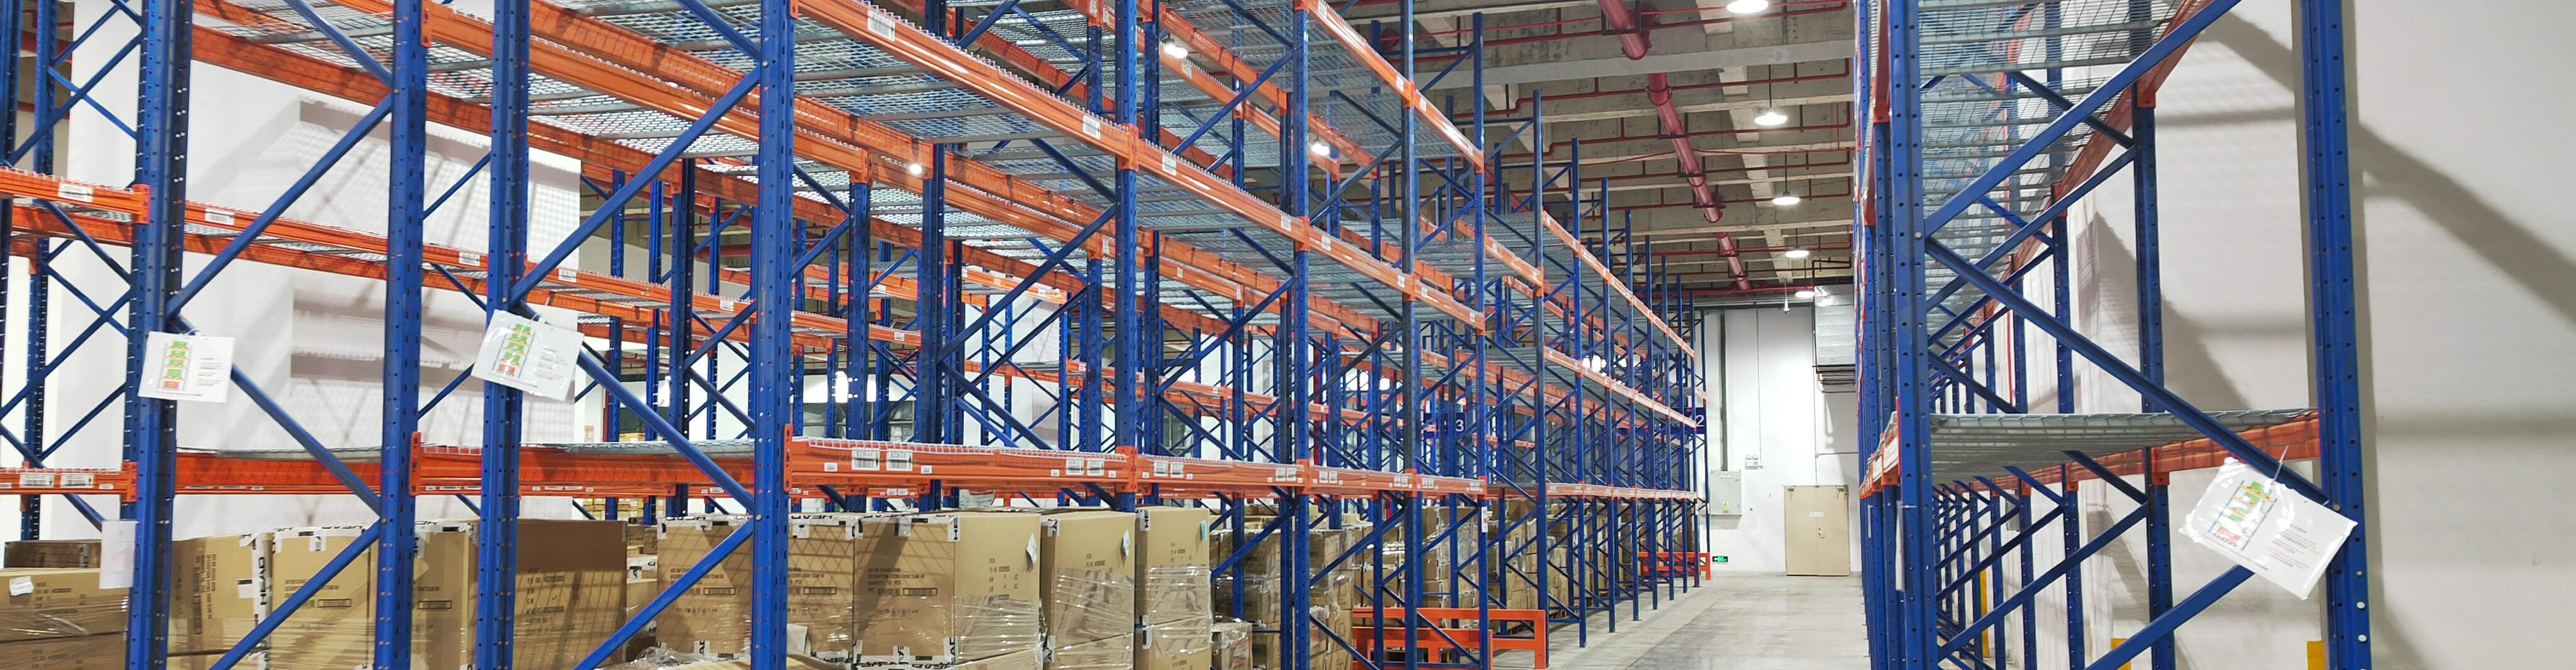
An efficient heavy duty racking system layout starts with the same question every warehouse team should ask first: what needs to move, how often, and by what equipment? Good layout design is not just about fitting more pallets into a building. It is about balancing storage density, forklift access, picking speed, safety, load control, and room for future changes.
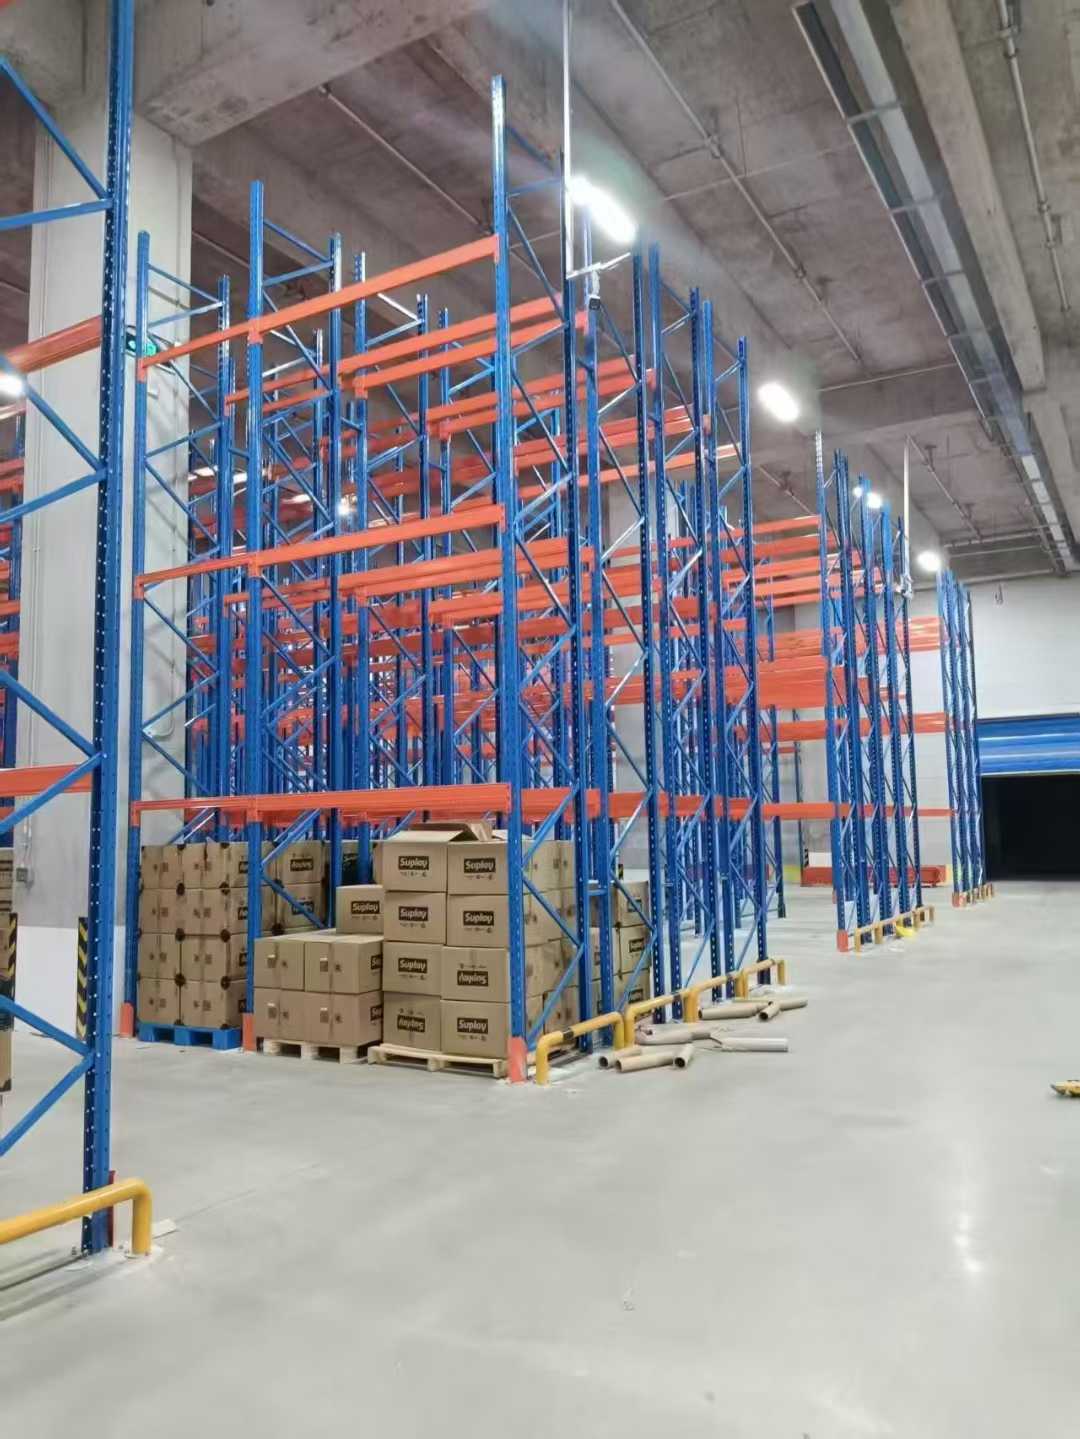
For most facilities, the right heavy duty racking system layout is based on six practical inputs: pallet size, load weight, SKU profile, handling method, building dimensions, and workflow. If any of those are misunderstood at the planning stage, the layout may look efficient on paper but perform poorly in daily operations.
This guide explains how to design a heavy duty racking system layout step by step, with realistic planning considerations for warehouse managers, procurement teams, and project planners.
What an efficient heavy duty racking system layout should achieve
A well-designed heavy duty racking system layout should do more than maximize storage positions. It should support safe and repeatable pallet handling while keeping travel time, congestion, and damage risk under control.
In practical terms, an efficient layout should help you:
- Store the required number of pallets without blocking core traffic routes
- Match the racking arrangement to forklift type and aisle width
- Provide suitable access for fast-moving and slow-moving SKUs
- Use available building height without creating unsafe or hard-to-manage storage levels
- Reduce product and rack damage caused by tight turns or poor visibility
- Allow inspections, maintenance access, and future expansion
Efficiency is rarely about storage density alone. A very dense layout can become inefficient if it slows replenishment, increases handling errors, or creates bottlenecks at peak periods.
Start with a clear warehouse profile before drawing the layout
Before selecting bay sizes or aisle spacing, define how the warehouse actually operates. This is where many projects go wrong. Teams often begin with rack dimensions instead of operating requirements.
1. Confirm the load characteristics
Your heavy duty racking system must be designed around the real load, not an assumed pallet standard. Review:
- Pallet length, width, and typical overhang
- Maximum pallet weight
- Load height, including packaging variation
- Whether loads are uniform or inconsistent
- Any non-standard pallets, stillages, bins, or bulk loads
If pallet dimensions vary widely, the layout needs to account for the largest practical handling footprint. Designing around nominal pallet size while ignoring overhang or unstable loads can create avoidable clearance and safety issues.
2. Understand SKU mix and access requirements
A warehouse storing many SKUs with frequent picking needs a different heavy duty racking system layout than a site handling mostly full pallets of a limited product range.
Key questions include:
- How many SKUs are stored?
- How many pallet locations are reserve storage versus active picking support?
- Are pallets handled on a FIFO or LIFO basis?
- How often are fast-moving items replenished?
- Do operators need direct access to every pallet?
Selective pallet racking is often the practical choice when direct access matters. Higher-density options may improve space usage, but they are not always suitable for mixed inventory or rapid order turnover.
3. Review handling equipment
Forklift type has a major effect on your heavy duty racking system layout. Counterbalance forklifts, reach trucks, VNA equipment, and stackers all have different turning circles, lift behavior, and aisle requirements.
Do not size aisles by guesswork. The layout should reflect actual truck specifications, load dimensions, lift height, and operating clearances. Narrow aisles may increase storage capacity, but only if the equipment and operator workflow can support them efficiently.
4. Assess the building itself
Building constraints shape the layout as much as inventory does. Review:
- Clear internal height
- Column grid and wall offsets
- Door locations and loading areas
- Fire exits and restricted zones
- Floor flatness and floor condition
- Lighting, sprinklers, and service obstructions
A heavy duty racking system that fits neatly in a concept drawing may become impractical once columns, dock approaches, or low-clearance areas are considered.
Choose the right racking configuration for the operation
The layout design depends heavily on the racking type selected. Not every heavy duty racking system suits every warehouse model.
Selective pallet racking
This is the most common option when direct access to each pallet is required. It is flexible, easier to manage for mixed SKUs, and generally simpler for stock control and inspection.
It may be less space-efficient than denser systems, but for many operations, the access advantage outweighs the lower storage density.
Drive-in or drive-through racking
These systems increase storage density by reducing aisles, but they suit a narrower inventory profile. They are more appropriate where pallet count per SKU is high and direct access to every pallet is not essential.
They can be less suitable for operations with many SKUs, frequent stock rotation complexity, or high risk of forklift impact inside lanes.
Double deep racking
Double deep layouts can improve density compared with selective systems, but they require suitable handling equipment and accept reduced pallet selectivity. This can work well for reserve storage where product rotation is more predictable.
Very narrow aisle layouts
A VNA-based heavy duty racking system layout can make strong use of building volume, especially where floor area is limited. However, it depends on specialist equipment, disciplined traffic control, and good floor conditions. It is not automatically the right answer for every warehouse.
Plan the layout around movement, not just storage positions
One of the most common mistakes in heavy duty racking system planning is focusing only on pallet count. Storage capacity matters, but movement efficiency often has a bigger impact on daily performance.
Main travel routes
Keep primary forklift routes clear and logical. Operators should be able to move between receiving, storage, replenishment, and dispatch without unnecessary crossing traffic. Long detours, blind intersections, and tight turning points reduce throughput and increase damage risk.
Fast-moving versus slow-moving stock
Place fast-moving SKUs in positions that reduce travel distance. That usually means closer access to dispatch, picking, or replenishment points. Slow-moving stock can be placed in less convenient but still accessible areas.
An efficient heavy duty racking system layout often uses zoning rather than treating every bay equally.
Inbound and outbound flow
If inbound and outbound traffic peaks at the same time, layout separation can help reduce congestion. Consider whether staging areas, inspection zones, or replenishment positions need to be built into the plan. A layout that uses every square meter for racking may create operational pressure if there is no room for temporary pallet handling.
Set practical bay sizes, beam levels, and aisle widths
Once the operating profile is clear, the next step is translating it into physical layout decisions.
Bay width and pallet positions
Bay size should match the pallet format and provide realistic handling clearance. Overly tight beam spacing may save space in theory but create repeated placement difficulty in practice. Small clearance margins can slow operators and increase impact damage.
Beam level spacing
Vertical spacing should account for pallet height, load variation, pallet condition, and forklift placement tolerance. If clearances are too tight, upper levels become harder to use efficiently and safely.
A good heavy duty racking system layout uses vertical space, but not at the expense of practical handling.
Aisle width
Aisle width should be based on the actual truck and load combination. Too wide, and you waste storage area. Too narrow, and handling becomes slow, stressful, and damage-prone. In many warehouses, the wrong aisle width is one of the costliest layout mistakes because it affects both capacity and daily productivity.
Use building height carefully
Many warehouses look upward when floor space is tight, and that often makes sense. But a taller heavy duty racking system layout should be evaluated carefully.
Higher storage can improve cubic utilization, but it also introduces planning considerations:
- Forklift lift capacity changes at height
- Cycle times may increase
- Visibility can be reduced at upper levels
- Floor tolerance becomes more important
- Inspection and maintenance access may be more difficult
Using more vertical space is usually worthwhile when the building supports it and the handling equipment is appropriate. It becomes less attractive when upper levels are rarely used or when lift operations become slow and error-prone.
Include safety and inspection access in the design stage
Safety should be built into the heavy duty racking system layout from the beginning, not added later as a correction.
Protect high-risk impact points
End-of-aisle uprights, tunnel openings, and intersections are common impact zones. Layout design should allow suitable protection and avoid unnecessarily tight turning approaches.
Maintain visibility and housekeeping
Congested layouts can hide damage, obstruct line of sight, and make housekeeping harder. A layout that is difficult to inspect will usually be harder to manage safely over time.
Allow access for inspections and maintenance
Routine rack inspection is easier when bays are accessible and traffic routes are not over-compressed. Your heavy duty racking system should allow teams to identify damaged uprights, displaced beams, loose anchors, missing safety components, or overloaded levels without operational disruption becoming excessive.
Plan for future expansion and operational change
Warehouse layouts rarely stay static. Product mix changes, order profiles change, and throughput often grows. A rigid heavy duty racking system layout may solve current storage pressure but create unnecessary cost later.
When planning the layout, consider:
- Whether additional bays can be added later
- Whether aisle orientation supports future extension
- Whether the system can adapt to changing pallet heights or SKU mix
- Whether picking demand may increase relative to bulk storage
- Whether expansion space is needed for staging or value-added processes
Sometimes the most efficient layout is not the one with the highest immediate pallet count. It may be the one that preserves operational flexibility.
Common heavy duty racking system layout mistakes
Several layout problems appear repeatedly in warehouse projects. Avoiding them can save significant cost and disruption.
- Designing around nominal pallet size only: real loads often vary in height, condition, and overhang
- Ignoring forklift behavior: aisle and turning needs must reflect actual equipment
- Over-prioritizing density: dense storage can reduce access and increase travel time
- Underestimating staging needs: receiving and dispatch areas need working room
- Using excessive height without operational benefit: upper levels may become inefficient if hard to access
- Not zoning inventory: fast-moving items should not be buried in low-priority locations
- Leaving no room for inspection or protection measures: safety and maintenance need physical access
A practical step-by-step approach to layout planning
Step 1: Measure the building accurately
Record usable floor area, clear height, column positions, door openings, and obstructions.
Step 2: Define pallet and load data
Confirm pallet dimensions, maximum weights, load heights, and any exceptions.
Step 3: Map inventory behavior
Separate fast-moving, medium-turn, and slow-moving stock. Identify SKU count and direct access requirements.
Step 4: Confirm equipment and aisle needs
Use the actual forklift model and handling envelope when planning aisle widths and lift heights.
Step 5: Select the most suitable racking type
Match the heavy duty racking system to access needs, density goals, and stock rotation logic.
Step 6: Build in flow zones
Reserve space for receiving, dispatch, replenishment, and any operational staging needs.
Step 7: Check safety and maintenance access
Review protection points, inspection access, pedestrian movement, and visibility.
Step 8: Leave room for change
Test whether the layout can absorb future growth, altered SKU mix, or different handling patterns.
FAQ
What is the most efficient heavy duty racking system layout for mixed SKUs?
For mixed SKUs requiring direct pallet access, selective pallet racking is often the most practical layout basis. It may not offer the highest storage density, but it supports simpler stock control and easier access.
How wide should aisles be in a heavy duty racking system?
Aisle width depends on forklift type, load size, lift height, and operating clearance. It should be based on actual equipment data rather than rough assumptions.
Is a higher racking layout always better?
No. Greater height can improve space use, but only when the building, floor, and handling equipment support safe and efficient operation. Very high storage can reduce speed and increase handling difficulty if poorly planned.
When is a dense racking layout a poor choice?
A dense layout may be a poor fit when SKU count is high, pallet selectivity matters, stock rotation is complex, or forklift impact risk is elevated. In those cases, access efficiency may be more valuable than maximum density.
Conclusion
Designing an efficient heavy duty racking system layout means balancing capacity with real warehouse performance. The strongest layouts are based on actual pallet data, handling equipment, building constraints, stock profile, and workflow priorities. They make room for safe movement, practical access, inspection, and future change.
If you evaluate density, accessibility, aisle design, vertical use, and operating flow together, your heavy duty racking system is far more likely to deliver long-term value instead of short-term capacity gains with daily operational compromises.