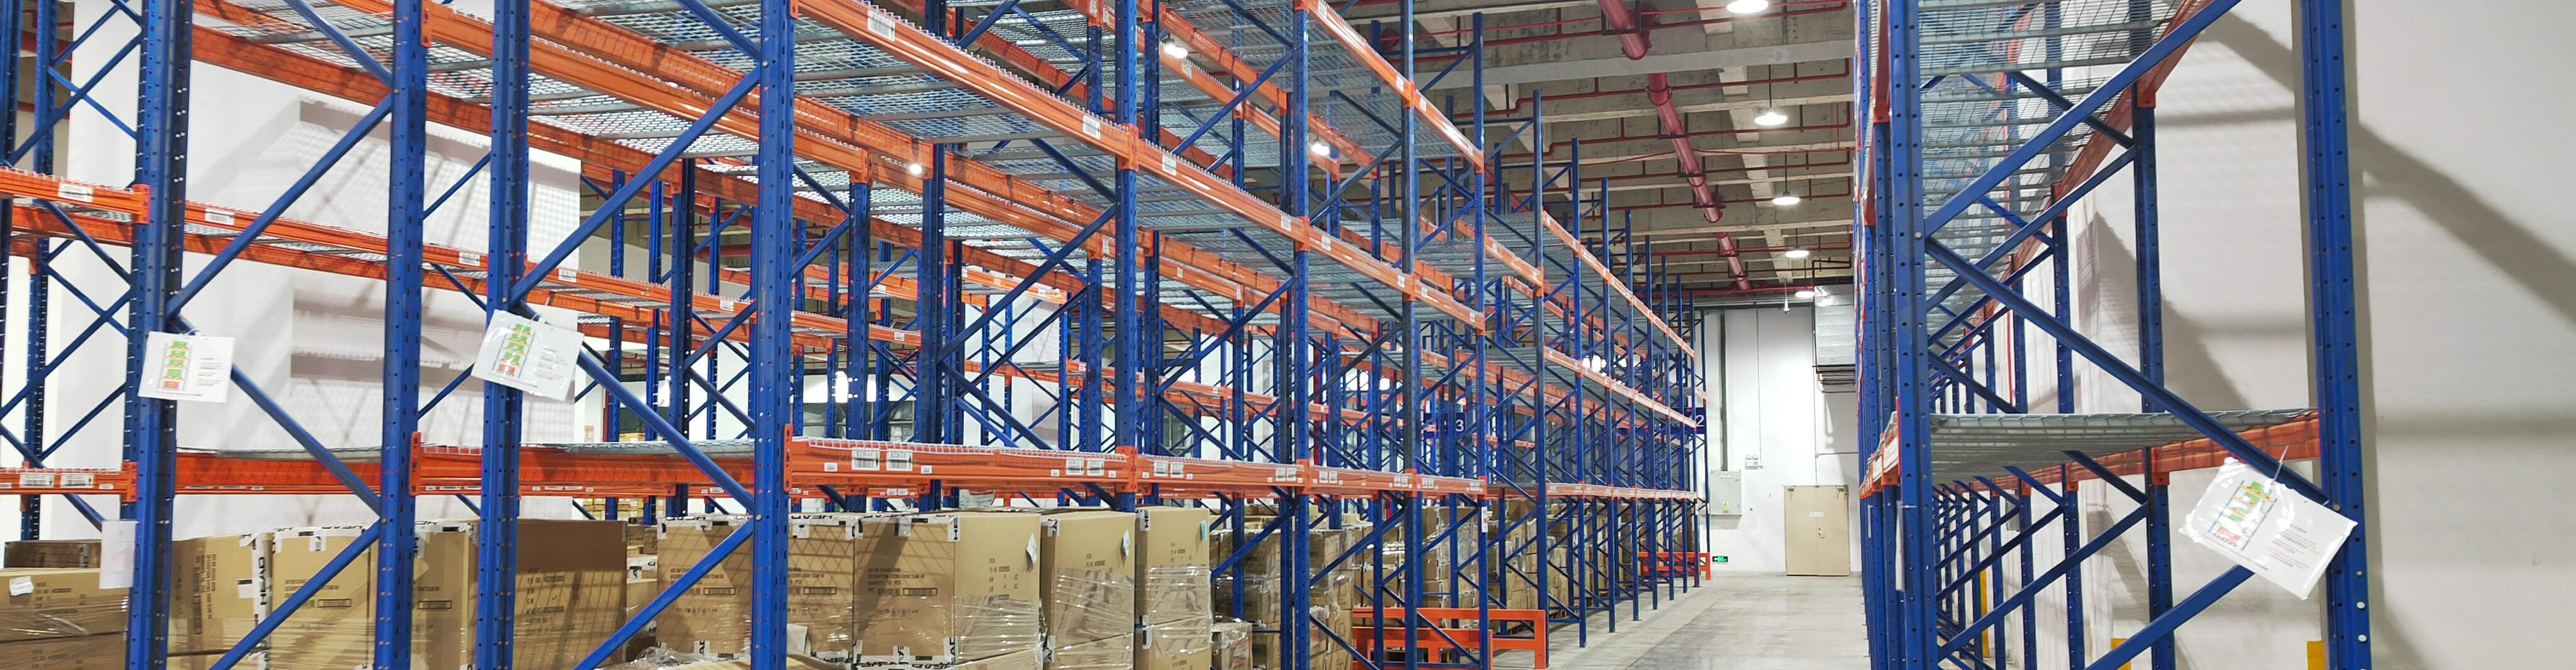
Installing heavy duty metal shelving correctly starts long before the first upright is raised. The safest and most efficient approach is to confirm load requirements, check floor condition and clearances, follow the manufacturer’s assembly sequence, level and anchor the shelving where required, and complete a final load and safety inspection before use. In warehouse, back-of-house, and industrial storage environments, small installation mistakes can lead to poor stability, wasted space, difficult picking access, and avoidable safety risks.
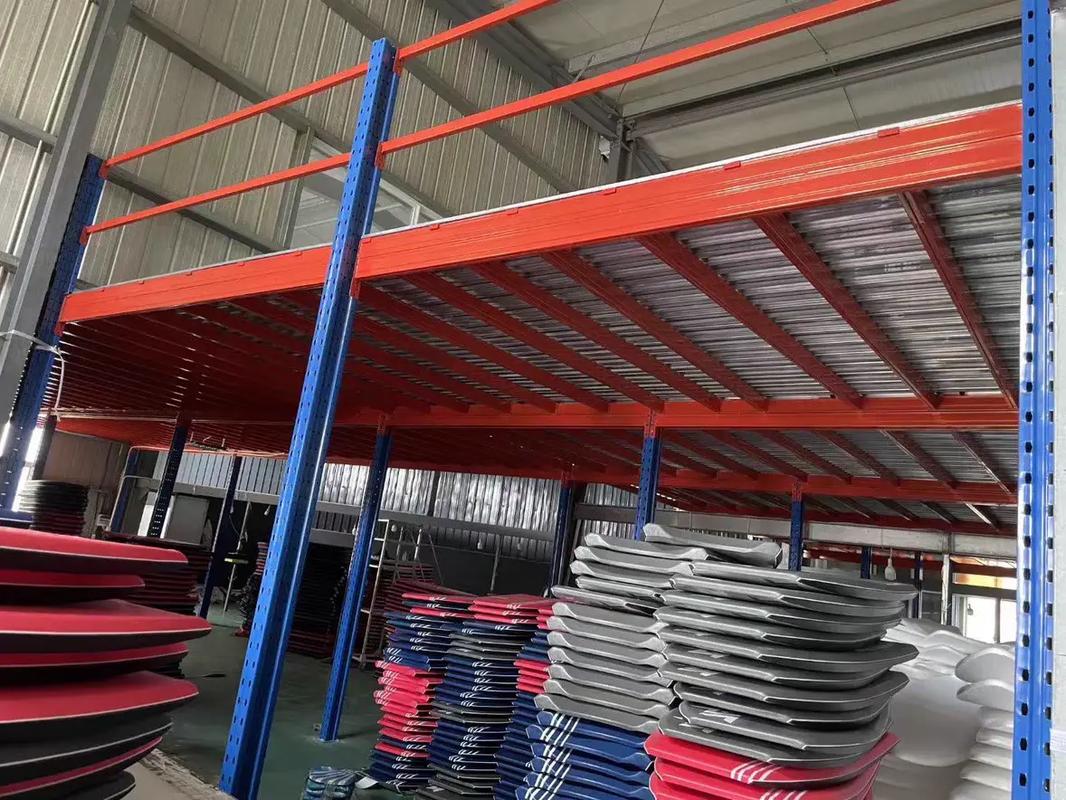
This guide explains how to install heavy duty metal shelving in a practical, step-by-step way for commercial users. It focuses on planning, assembly, layout control, and post-installation checks so warehouse managers, facilities teams, and procurement buyers can set up shelving that works safely in daily operations.
What heavy duty metal shelving is designed to do
Heavy duty metal shelving is typically used for hand-loaded cartons, parts, bins, tools, archive boxes, maintenance stock, and mixed-SKU inventory that needs direct access. Unlike pallet racking, it is generally intended for smaller unit loads and frequent manual picking. That makes installation details especially important, because the shelving must support not only the load itself but also regular operator interaction at multiple shelf levels.
When installed properly, heavy duty metal shelving can improve storage density, picking speed, and stock organization. When installed poorly, it can create uneven load distribution, blocked aisles, unstable bays, and difficult replenishment access. The installation method should therefore match the actual use case, not just the available floor area.
Start with planning before assembly
The most efficient heavy duty metal shelving installations are planned around inventory, workflow, and the physical building. Teams often lose time by unpacking materials too early and trying to assemble bays before confirming layout details.
Define the load and use case
Before installation, identify what the shelving will store and how it will be accessed. Key questions include:
- Will shelves hold cartons, plastic bins, spare parts, tools, or irregular items?
- Will stock be picked manually at all levels?
- Will replenishment involve ladders, steps, or mobile access equipment?
- Will any shelf levels carry concentrated point loads rather than evenly distributed loads?
- Will the shelving be used in a dry warehouse, workshop, archive area, or humid environment?
These points affect shelf spacing, bay width, depth, and whether additional bracing or floor anchoring is appropriate. Heavy duty metal shelving should never be installed based on a rough estimate of load only.
Check floor condition and level
Floor condition is a common cause of installation problems. A cracked, sloped, uneven, or weak floor can make heavy duty metal shelving difficult to level and may affect long-term stability. Before installation, inspect the area for:
- Visible floor damage or settlement
- Drainage slopes or uneven concrete
- Expansion joints in critical base plate locations
- Obstructions such as conduits, drains, or floor bolts
- Areas exposed to moisture or corrosion risk
If the floor is significantly uneven, shimming and anchoring decisions should be handled carefully and in line with the shelving supplier’s guidance. In industrial settings, floor suitability should be reviewed before committing to a dense shelving layout.
Confirm building and access clearances
Heavy duty metal shelving should fit the building without compromising access or safety. Measure ceiling height, sprinkler clearances where relevant, door openings, columns, wall protrusions, and aisle widths. Also consider how staff will move through the space during picking and replenishment.
A shelving layout that looks efficient on paper can become impractical if aisles are too narrow for carts, order picking, or maintenance access. If the shelving is near forklift traffic, leave enough separation to reduce impact risk.
Tools and materials to prepare
Installation runs more smoothly when all tools and components are organized before assembly starts. The exact tool list depends on the shelving design, but most heavy duty metal shelving projects require:
- Tape measure
- Spirit level or laser level
- Rubber mallet where suitable for the system
- Spanners or socket tools for bolted connections
- Anchor fixing tools if floor anchoring is required
- Shims if allowed for leveling
- PPE such as gloves, safety footwear, and eye protection
- Manufacturer’s installation instructions and load information
It is also good practice to sort components by bay type and shelf level before work begins. Mixed hardware and unsorted parts often cause assembly errors and wasted labor time.
How to install heavy duty metal shelving step by step
1. Mark out the layout
Start by marking the position of each bay on the floor. Confirm row lengths, aisle widths, end-of-row clearance, and access routes. This is the point to catch spacing mistakes before frames are assembled.
For multi-bay runs of heavy duty metal shelving, check that the layout allows practical picking movement and does not block fire exits, electrical panels, or service access. If stock is handled with trolleys or carts, test the aisle width against real operating conditions rather than minimum theoretical dimensions.
2. Inspect components before assembly
Do not install damaged uprights, shelves, braces, clips, or fasteners. Check components for bends, missing parts, damaged finishes, and mismatched hardware. Even minor damage at the start can affect fit, alignment, and load performance later.
If any parts appear incorrect or incomplete, stop and resolve the issue before proceeding. Forcing components into place is a common cause of installation defects.
3. Assemble the end frames first
Most heavy duty metal shelving systems are easiest to install by assembling the end frames first. Lay out the uprights and frame members in the correct orientation, then connect them according to the system design. Keep all bolts or connectors snug but not fully tightened until the frame is square.
Check frame orientation carefully. Installing a frame backwards can disrupt shelf support placement, bracing position, and row alignment.
4. Raise and position the first bay carefully
Once the first frame set is assembled, raise it carefully with adequate manpower for the size and weight of the section. Position the first bay in its marked location and check plumb and level before extending the run. The first bay sets the standard for the rest of the installation, so rushing this stage often creates alignment problems across the whole row.
Where the system design requires anchoring, do not skip it simply because the bay feels stable when empty. Empty stability is not the same as loaded stability in day-to-day use.
5. Add shelves at the planned heights
Install shelf levels based on the actual stock profile, not just evenly spaced visual preference. Heavy duty metal shelving performs better when shelf spacing reflects carton height, bin dimensions, picking frequency, and ergonomic reach.
Keep heavier items on lower levels wherever possible. This lowers the center of gravity and makes the shelving safer and easier to use. Frequently picked items should be placed between knee and shoulder height to improve picking efficiency and reduce strain.
6. Connect additional bays and maintain alignment
For continuous runs of heavy duty metal shelving, connect each additional bay while regularly checking level, plumb, and straightness. Small errors compound quickly across long rows. Use a level and tape measure often rather than waiting until the full run is complete.
Do not assume that a flat-looking floor will keep every bay aligned. Minor floor variation can create visible lean or shelf misfit if not corrected during installation.
7. Tighten hardware in sequence
Once the shelving is aligned, tighten all bolts and connectors in a consistent sequence. Random tightening can pull frames out of square. After tightening, recheck level and upright plumb.
If the shelving uses clip-in components rather than bolted shelf supports, confirm that each connection is fully seated and locked. Partial engagement is a common hidden fault in heavy duty metal shelving installations.
8. Anchor and level where required
Some heavy duty metal shelving systems require floor anchoring based on height, depth, load, or operational environment. Follow the manufacturer’s instructions and any site-specific safety requirements. If shims are used for leveling, they should be installed correctly and not improvised from unsuitable materials.
Anchoring is particularly important where shelving is tall, heavily loaded, located in high-traffic areas, or exposed to accidental contact from carts or handling equipment.
9. Fit accessories and safety features
After the main structure is installed, add any required accessories such as dividers, side panels, back stops, bin fronts, shelf liners, or bay markers. In some operations, row end protection or barriers may also be appropriate if the heavy duty metal shelving is close to vehicle movement.
Labels are not just an organizational extra. Clear bay identification and load notices help operators use the shelving correctly and support stock control.
10. Complete a final inspection before loading
Before the shelving is put into service, carry out a final check for missing fasteners, unseated clips, frame lean, uneven shelves, and anchoring completion. Confirm that the installed configuration matches the intended use and that operators understand any load limitations.
Do not load heavy duty metal shelving until this inspection is complete. Early loading during incomplete installation is a preventable risk.
Safety mistakes to avoid during installation
Many problems with heavy duty metal shelving are caused by avoidable shortcuts rather than product failure. The following mistakes are especially common:
- Installing on an uneven or damaged floor without correcting level issues
- Ignoring the load plan and spacing shelves purely by appearance
- Using damaged uprights or shelves
- Failing to anchor bays where required
- Overextending row lengths without checking alignment
- Mixing incompatible components from different systems
- Loading top shelves too heavily
- Placing shelving where aisles are too tight for safe picking or replenishment
In real warehouse use, these mistakes show up as leaning bays, difficult shelf fit, stock access problems, and premature wear from misuse.
How installation affects daily warehouse efficiency
Heavy duty metal shelving should not be installed as a stand-alone fixture without thinking about workflow. The right installation improves more than storage capacity. It affects replenishment speed, order accuracy, housekeeping, and labor efficiency.
For example, if fast-moving SKUs are placed too high or too low, picking time increases. If shelf depths do not match carton sizes, storage space is wasted. If aisles are too narrow, staff may struggle to pass each other or move picking carts efficiently. If shelving rows block maintenance access or building services, future adjustments become disruptive.
For mixed inventory environments, heavy duty metal shelving often works best when bays are zoned by SKU velocity, product size, or picking frequency. That approach should be considered during installation rather than after the shelving is already loaded.
Post-installation checks and maintenance priorities
Once heavy duty metal shelving is installed, it should be checked periodically as part of normal warehouse housekeeping and safety review. Installation is only the start of system performance.
What to check after installation
- Loose bolts or connectors after initial loading
- Shelf deflection or visible distortion
- Upright damage from impact or misuse
- Missing clips, locks, or accessories
- Corrosion in damp or aggressive environments
- Load creep, where stock gradually exceeds the intended shelf use
These checks are especially important in busy operations where stock profiles change over time. A shelving layout that was suitable at installation can become overloaded or poorly organized if inventory changes are not managed.
When to review the layout
Review heavy duty metal shelving layout and shelf spacing when:
- SKU mix changes significantly
- Picking methods change
- New bins or cartons are introduced
- Inventory turns increase
- The area becomes more congested
- Expansion is planned nearby
In many warehouses, layout inefficiency develops gradually. A periodic review helps keep the shelving practical and safe rather than simply full.
When heavy duty metal shelving may not be the right solution
Heavy duty metal shelving is useful for many manual storage applications, but it is not ideal for every environment. If the operation mainly stores full pallets handled by forklifts, pallet racking is usually more suitable. If very high-density small parts storage is needed, specialized bin systems or multi-tier shelving layouts may be more efficient. If stock is long, bulky, or irregular, cantilever or custom storage may be a better fit.
Installation planning should therefore start with the storage requirement, not the assumption that one shelving format suits all stock types.
FAQ
Do all heavy duty metal shelving systems need to be anchored?
No, not all systems have the same anchoring requirement, but many do depending on height, load, bay configuration, and operating conditions. Always follow the specific supplier or manufacturer guidance for the shelving being installed.
How much aisle space should be left around heavy duty metal shelving?
The right aisle width depends on how the shelving is used. Manual picking, trolley movement, ladder access, and nearby equipment traffic all affect the clearance needed. Aisles should support safe movement and replenishment, not just minimum fit.
Can heavy duty metal shelving be installed on uneven floors?
It can sometimes be leveled on floors with minor variation, but uneven floors should never be ignored. Significant floor issues can affect stability and alignment, and may require correction before installation.
What is the most common installation mistake?
One of the most common mistakes is treating heavy duty metal shelving as simple furniture rather than a load-bearing storage system. That leads to poor planning, incorrect shelf spacing, missed anchoring, and unsafe loading practices.
Conclusion
To install heavy duty metal shelving safely and efficiently, plan the layout around real stock and workflow, verify the floor and clearances, assemble bays in sequence, keep the structure level and aligned, and complete a final inspection before loading. A good installation supports safe operation, practical picking, and future adaptability.
Heavy duty metal shelving delivers the most value when the installation reflects how the warehouse actually works. For commercial users, the goal is not just to build the shelving quickly, but to build a storage system that remains stable, accessible, and manageable under daily use.